Creating a Local Environment for Postman
Please follow these initial setup instructions first!
Creating an environment
- Create a
.jsonfile with the following:
{
  "name": "Local GHC Development",
  "values": [
    {
      "key": "baseUrl",
      "value": "http://officelocal:8080/ghc/v1",
      "enabled": true
    },
    {
      "key": "gorillaCSRF",
      "value": "",
      "enabled": true
    },
    {
      "key": "maskedGorillaCSRF",
      "value": "",
      "enabled": true
    }
  ],
  "_postman_variable_scope": "environment"
}
Fill in the two empty values and save the file. The
gorillaCSRFandmaskedGorillaCSRFcan be found in yourofficelocalcookies in the browser.In Postman, click the "Environments" tab in the left sidebar.
Click the "Import" button next to "My Workspaces" and then click the "Upload Files" button.
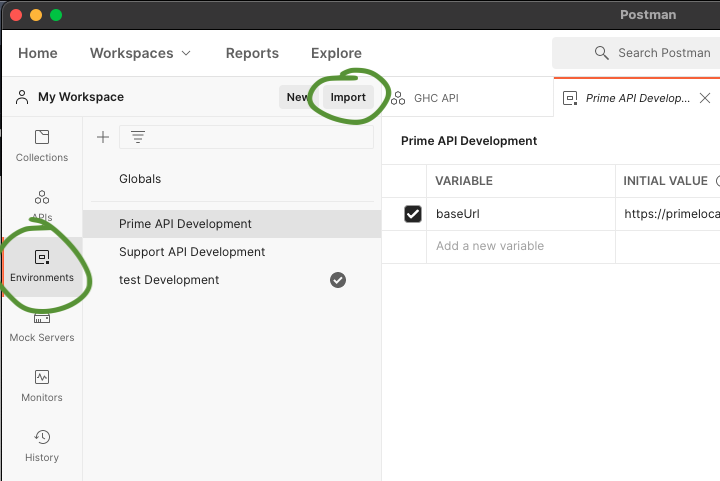
Select your
.jsonfile and upload it.Confirm your selection (default values are fine) and click "Import".
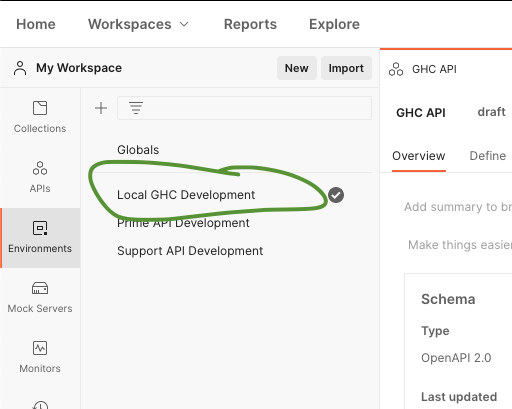
You should now see the Local GHC Development environment listed.
Using the GHC environment and collection
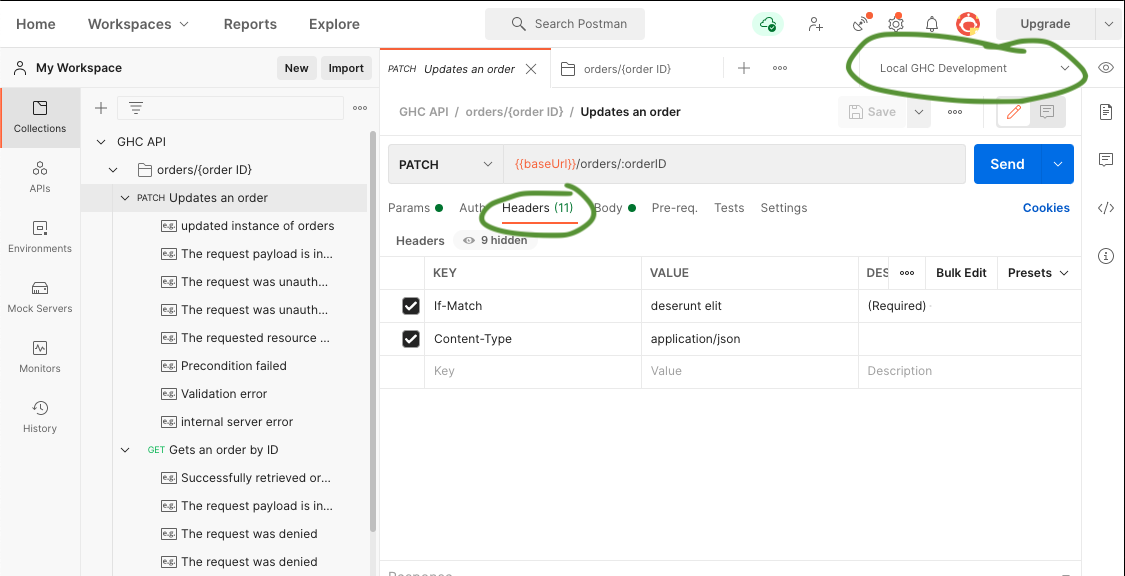
To use the GHC environment, click on the environment dropdown on the upper right of the screen and choose the "Local GHC Development" option.
You are now ready to work with the GHC API locally!
Next steps will depend on which endpoint you are testing. You may need to add various headers or data.